
My Hovercraft:
Part 1
The Frame
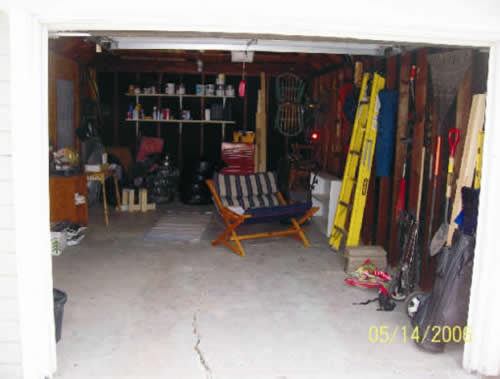
May 14th, 2006: Here we have the makings of a nice clean garage. Unfortunately it did not stay that way. Notice the blueprints for the ribs (main structural supports) on the ground.
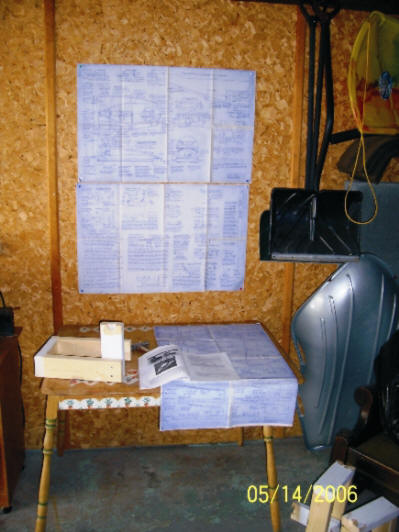
May, 2006: Here are the main blueprints for the hovercraft. The ones on the table are for making the fans. I have not gotten that far yet so they got folded back up. The ones on the wall are pretty much for making the entire thing along with the book on the table. They are rather complicated since you need those along with the one on the floor just to get all the measurements you need.
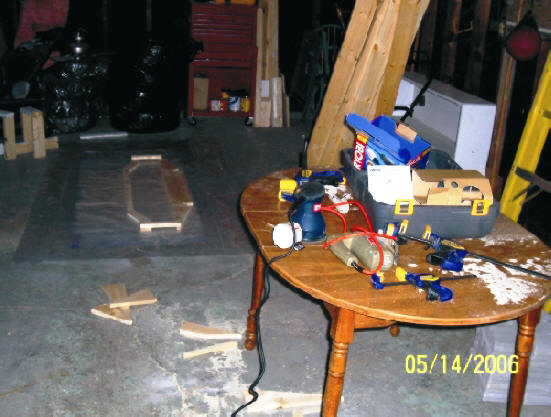
May, 2006: You can see on the ground the pieces for Rib #2, which is the second main structural support. On the table are my main tools. A palm sander, a jig saw, some clamps, a circular saw is on the ground and a miter saw is to the left out of the picture.
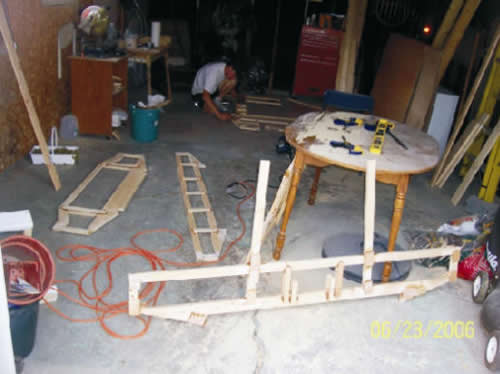
June, 2006: Here I am shaping part of Rib 6. I skipped a lot of parts for pictures because it gets pretty redundant after a while.
June, 2006: All the pieces for the ribs all cut out. There are 7 all together. The main pieces for 2 and 3 are the two ones glued together. 6 is on the ground, 5 and 7 are off to the left and 4, as well as the rest of the pieces for the other ones, are on the bookshelf. Now onto epoxying those pieces together.
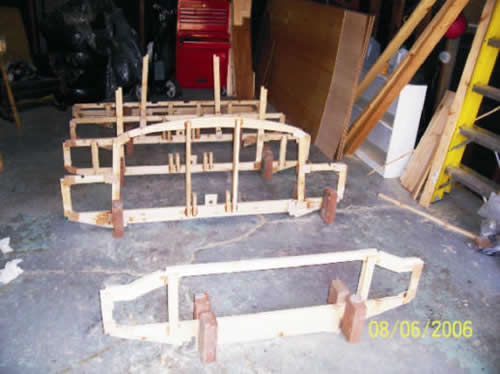
June, 2006: Most of the ribs are put together except Rib 1 and my best bud John is helping put on little plywood pieces to help support the frame and keep it from falling apart.
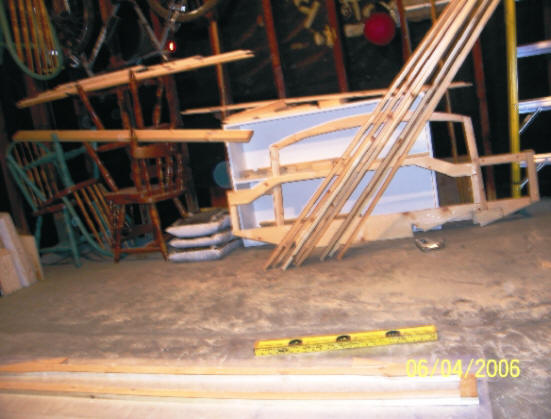
August, 2006: All the frame pieces are finally finished (except Rib 1) and put together. Here they are aligned and standing (supported by bricks) where they are going to be attached together with the stringers. Works best on a level surface, not a cracked garage floor, but I can adapt.
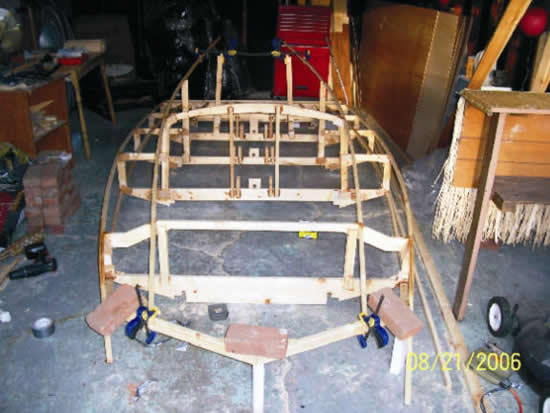
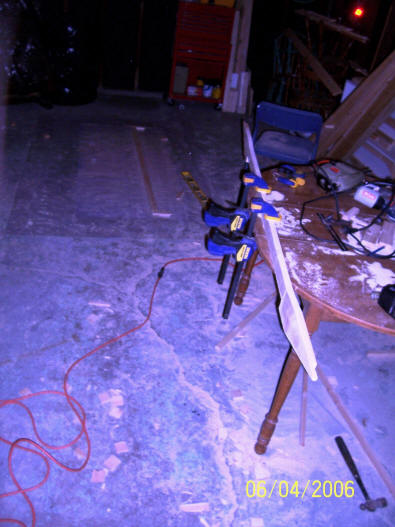
August, 2006: Most of the stringers have been put into place. Rib 1 is finally finished now that I know what to do. The stringers would not bend down to Rib 1 so I spent about a week slowly bending it with clamps, bricks and duct tape. Shown hereare the two upper stringers and I'm using the clamps to try and reach the back supports and holding it onto Rib 1 until I can cut the proper slots for it to fit in.
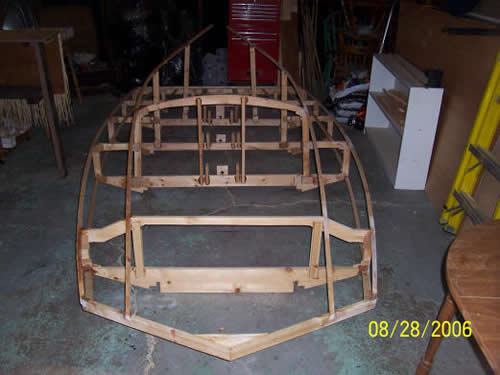
August, 2006: The final finished frame. On to skinning it now.